How to: Create a Simple Test Project
There are basically two methods to creating a test project. The advanced one utilizes a Gantt scheduler for a visual approach with drag and drop capabilities. The simple method is a flat list view to the project. Both methods have their uses.
Creating a Simple Test Project
Simple method is best used on test projects that have no dependencies between developments and test cases, like regression testing.


Create a project
- Navigation bar -> New -> Project - Create your testing project, fill at least the mandatory information.
- Set up project Security from the Tools menu - see help article on Project Security.
- That’s the mandatory setup done, all other fields are optional.
Add test cases
- To create new Test cases and Templates see help article on How to create Test cases and Templates.
- To copy Test cases from a previous project click Tools -> Copy from project. Choose project and activities and copy. When copying new activities are created and previous test results are reset.
- To add test case templates click Tools -> Add test cases, select templates and Add.
Assign and manage test cases
- View your Test cases by opening the Activities tab. Tip: Observatory is a great tool to manage multiple projects at the same time.
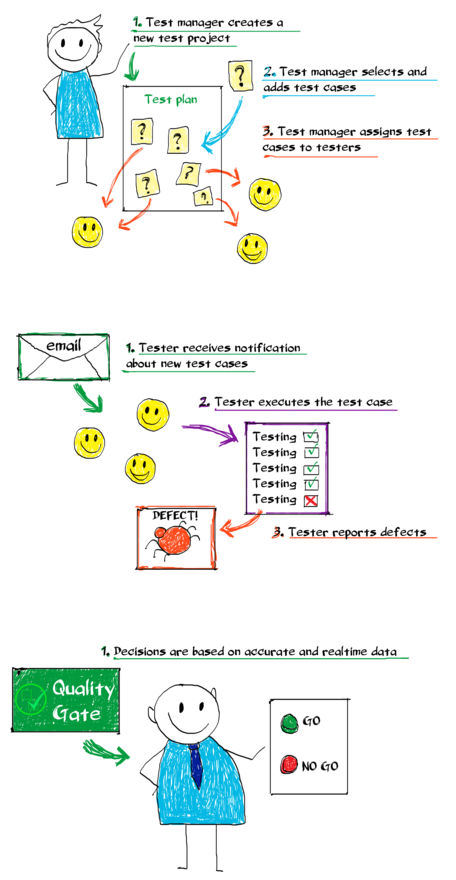
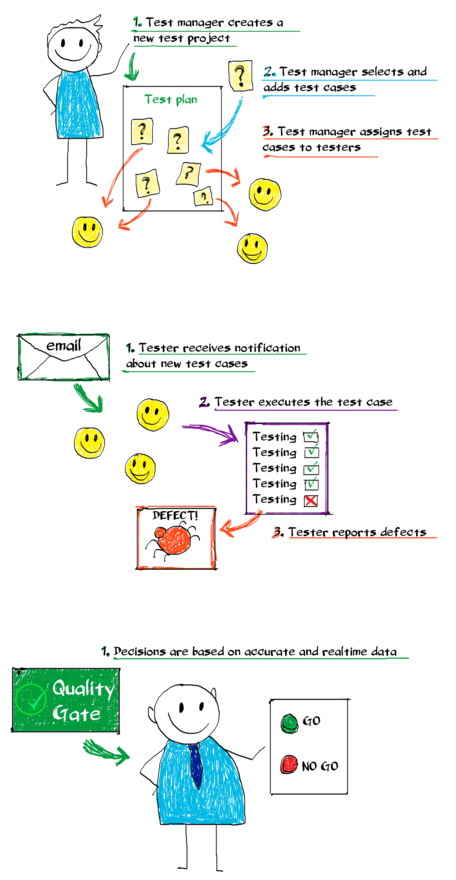
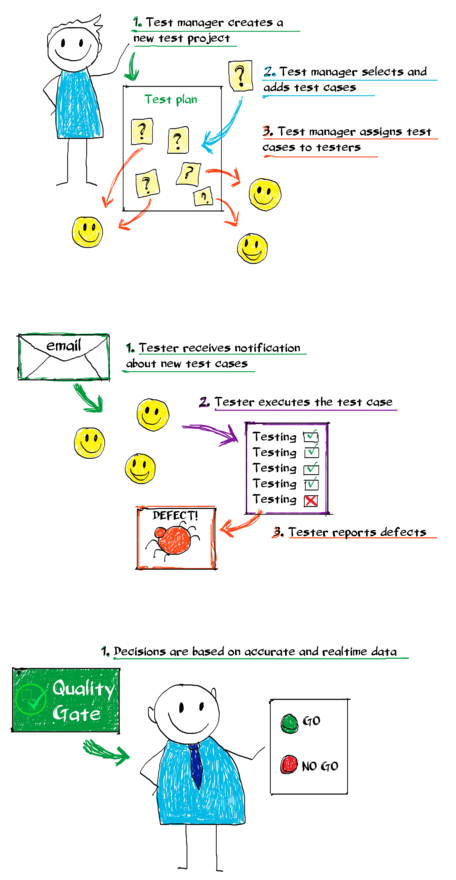
- Assign Test cases to testers using the Assigned to- field. The assignee receives an email notification of new activities. Assign cases to multiple testers by adding them as resources.
- Mass change is a great way to make changes to multiple activities at once.
Testing and reporting defects
Testers find their test cases by email notifications or using their My Activities or Observatory views. More on How to test and How to report defects.
Tracking testing progress
- Observatory (Navigation bar -> Views -> Observatory) is a great, customizable view to your testing progress.
- Dashboard (Navigation bar -> Reports -> Dashboard) provides real time reporting.

